Mastering Jasper AI: Brand Voice Training Step-by-Step
Every brand has a voice, but keeping that voice consistent across 30, 50, or 100 pieces of content per month? That’s where things fall apart. Even experienced writers drift over time — the Monday blog post sounds different from the Friday email, and the social media copy sounds like it was written by a completely different company. Jasper AI’s Brand Voice feature is designed to solve exactly this problem, and when it’s set up correctly, it works surprisingly well.
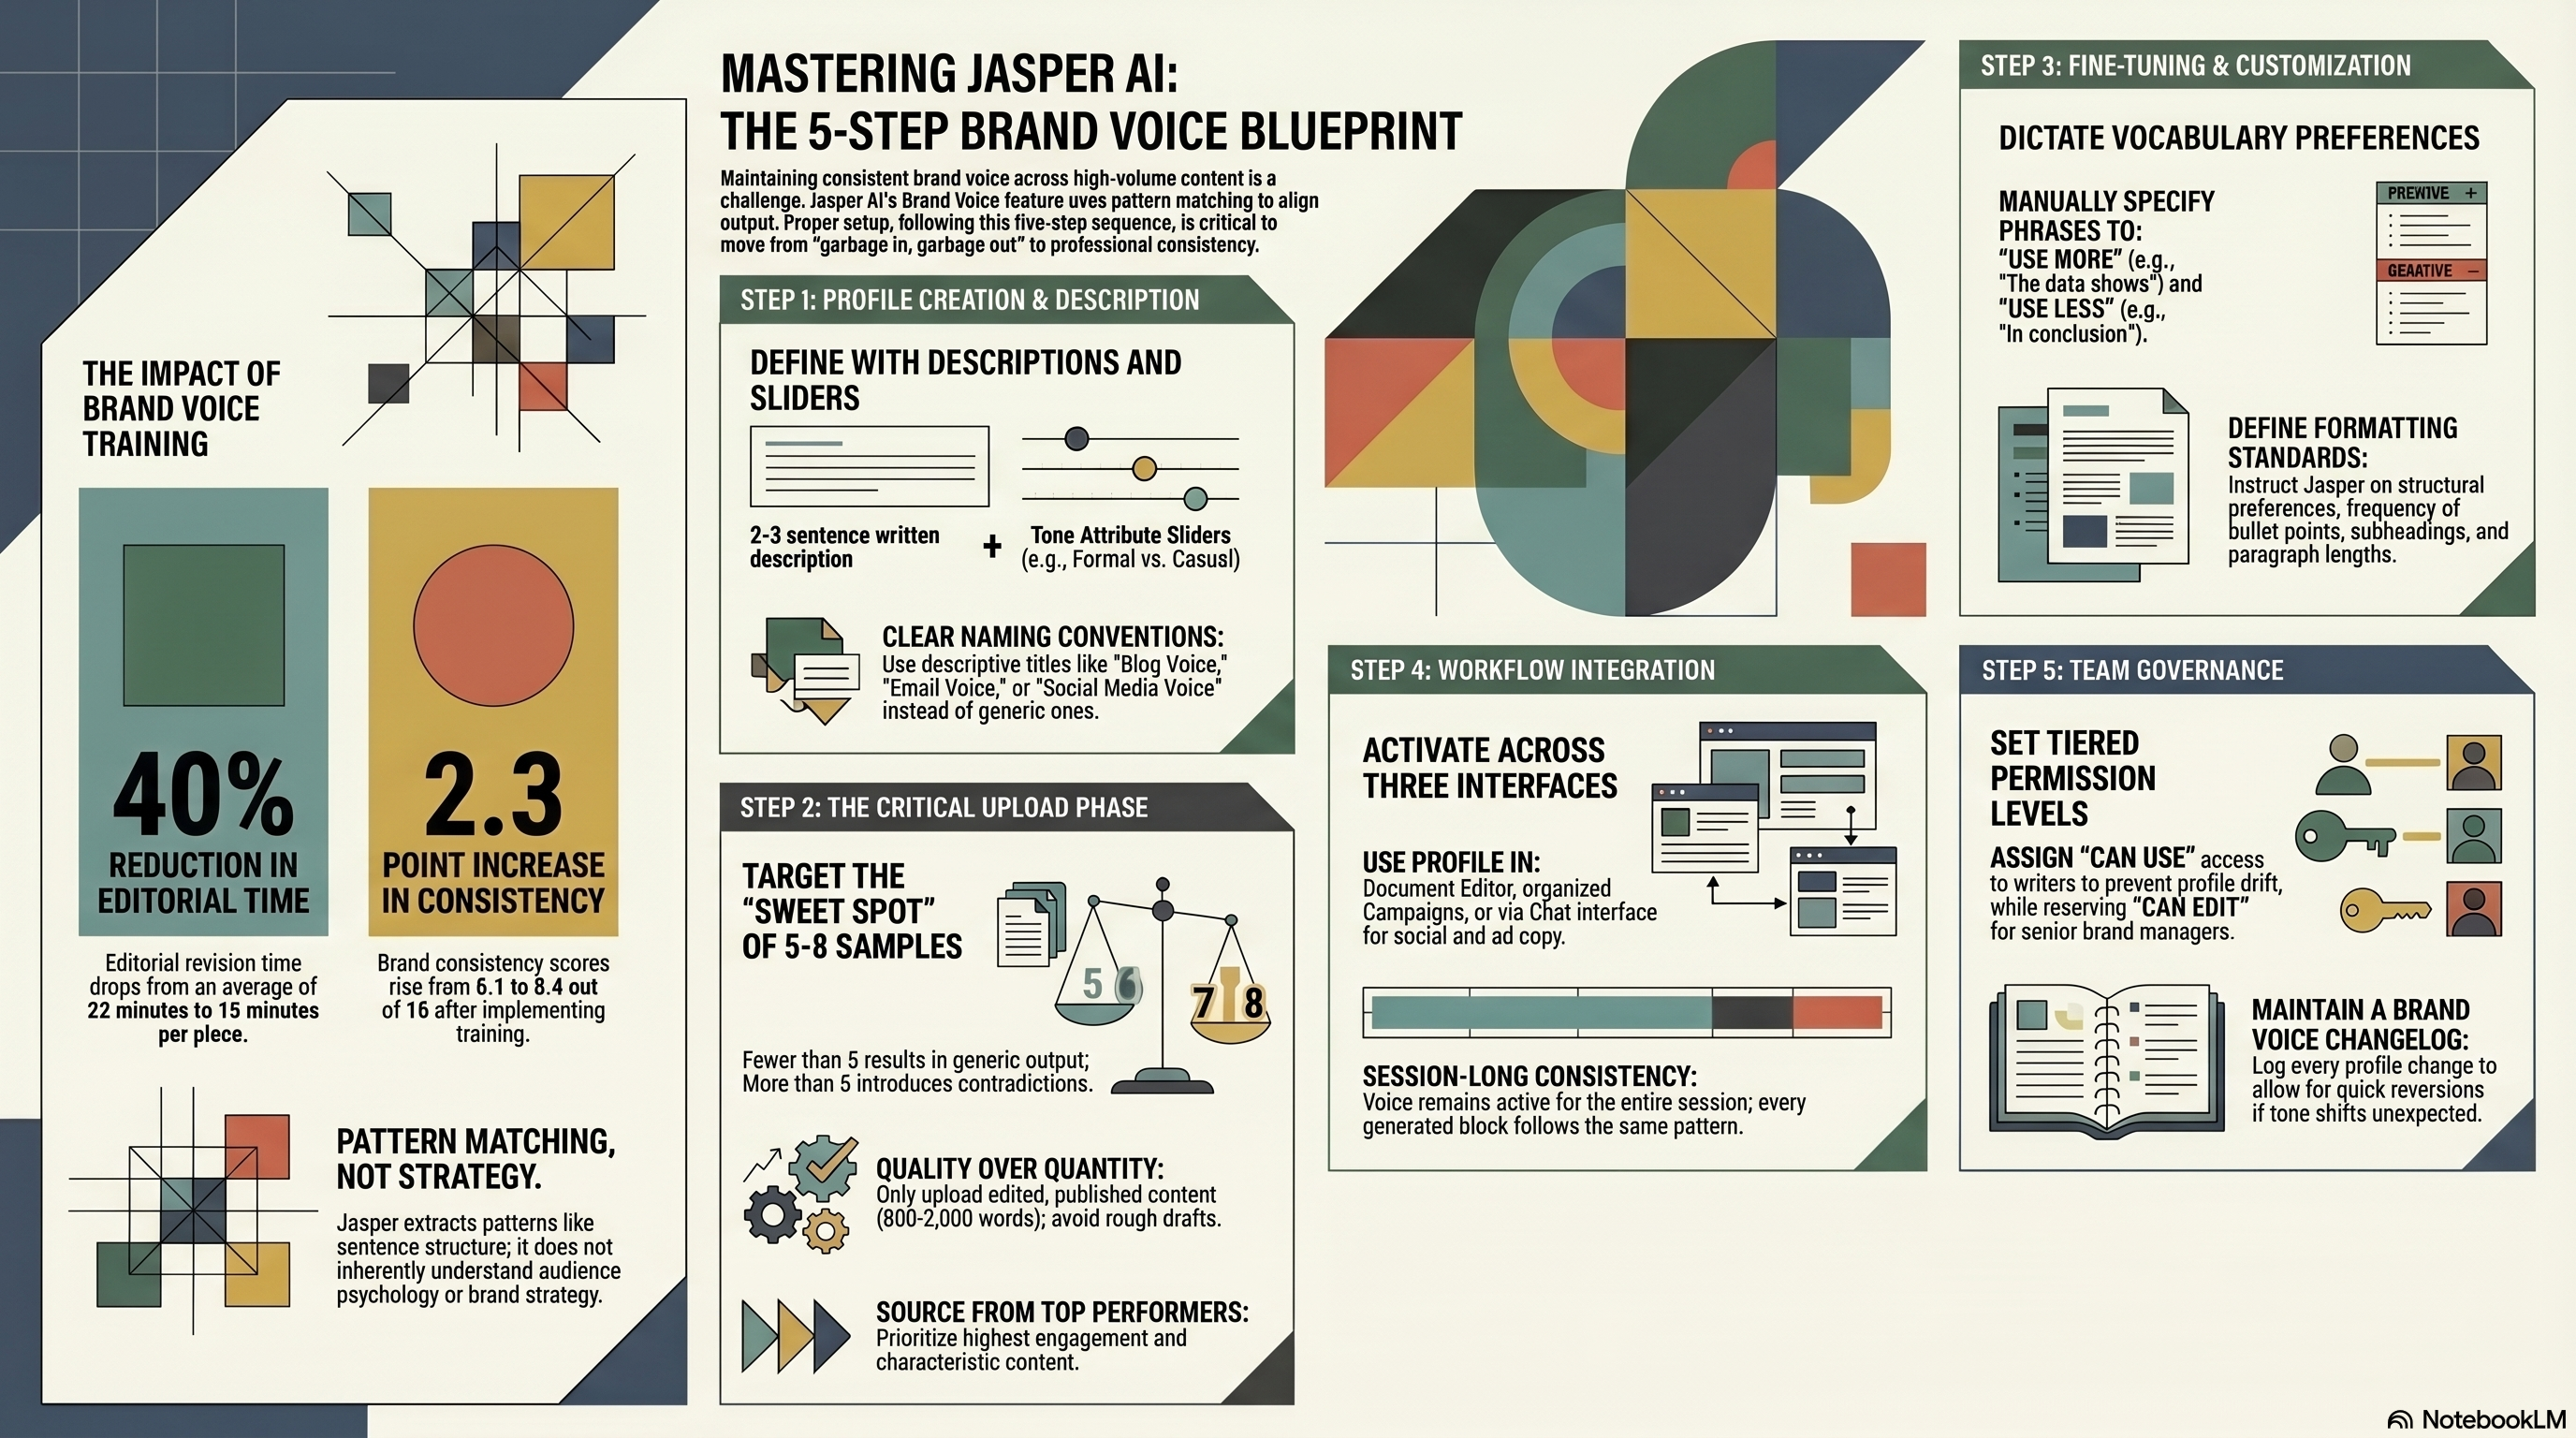
We’ve been using Jasper’s Brand Voice across three different brand accounts for about eight months now. The results are clear: editorial revision time dropped by roughly 40%, and our brand consistency scores (measured by blind evaluations from our editorial team) went from an average of 6.1/10 to 8.4/10. But getting those results took some trial and error. This tutorial walks you through the setup process — plus the mistakes we made so you can skip them.
What Brand Voice Actually Does (And Doesn’t Do)
Before we get into the how-to, let’s be clear about what this feature is. Jasper’s Brand Voice analyzes content samples you provide and extracts patterns: sentence structure, vocabulary preferences, tone markers, formality level, use of humor, and about a dozen other stylistic dimensions. When you then generate content with that voice profile active, Jasper adjusts its output to match those patterns.
What it doesn’t do: it won’t magically understand your brand strategy, your audience’s psychology, or why you chose certain words over others. It’s pattern matching, not brand consulting. That means the quality of your Brand Voice profile depends entirely on the quality of the samples you feed it.
Think of it this way — if you train it on your five best-performing blog posts, it’ll learn to write like your best work. If you train it on random drafts that haven’t been edited, it’ll learn to write like your rough drafts. Garbage in, garbage out still applies.
For a broader look at how Jasper fits into an AI content strategy, check out our Jasper AI review.
Step 1: Create Your Brand Voice Profile
Let’s start with the actual setup. You’ll need a Jasper Business or Teams plan — Brand Voice isn’t available on the Creator plan.
Go to Brand Voice settings:
- Log into Jasper at jasper.ai
- Click on Brand Voice in the left sidebar (it’s under the “Brand” section)
- Click + New Voice
You’ll see a setup wizard with two options: Describe your brand voice or Upload content samples. Here’s our strong recommendation: do both. Using only the description gives Jasper a vague target. Using only samples gives it patterns without context. Using both gives it the full picture.
Fill in the description fields:
- Voice Name: Give it something descriptive. “Blog Voice” is better than “Voice 1.” If you’ll have multiple voices (blog, email, social), name them clearly.
- Description: Write 2-3 sentences describing the voice. Example: “Conversational and direct. We explain complex topics in simple terms without dumbing them down. We use humor sparingly — a light touch, never forced. We’re opinionated and back up our opinions with data.”
- Tone attributes: Jasper gives you sliders for dimensions like formal/casual, serious/playful, respectful/irreverent. Set these based on your brand guidelines. If you don’t have formal guidelines, set them based on your gut feeling about your best content.
This initial setup takes about 5 minutes. Don’t overthink it — you can refine everything later.
Step 2: Upload Reference Content (This Is the Critical Step)
Now, the part that actually determines whether Brand Voice works well or not. You need to upload content samples that represent how you want Jasper to write.
How many samples? Jasper recommends at least 3. In our testing, the sweet spot is 5-8. Below 5, the voice profile is too thin and Jasper falls back to generic patterns. Above 8, you introduce contradictions and the voice gets muddled. We tested with 3, 5, 8, 12, and 15 — the 5-8 range consistently won.
What to upload:
Choose samples that represent your best and most characteristic content. Specifically:
-
Pick your top performers. Look at your analytics. Which blog posts got the most engagement, time-on-page, or positive feedback? Those are the pieces where your voice resonated most. Start there.
-
Choose variety within consistency. Upload different content types (how-to article, opinion piece, product comparison) but make sure they share the same voice. If your how-to articles sound formal and opinion pieces sound casual, create separate voices.
-
Use edited, published content only. Never upload rough drafts or content from other writers. Every sample teaches Jasper a pattern — make sure it’s learning the right ones.
-
Aim for 800-2,000 words per sample. Shorter pieces don’t give Jasper enough material to extract patterns. Longer pieces work fine, but the signal-to-noise ratio drops after about 2,000 words.
To upload:
- In the Brand Voice setup wizard, click Upload content
- You can paste text directly, upload files (PDF, DOCX, TXT), or provide URLs
- URLs are the easiest option for blog content — just paste the link and Jasper scrapes the text
After uploading, Jasper processes your samples (takes 30-60 seconds) and shows you a voice analysis summary. It’ll display things like: “Conversational tone, short-to-medium sentences, direct address to reader, moderate use of questions, low jargon density.” Review this carefully — if it doesn’t match your perception of your brand voice, your samples might not be representative.
Step 3: Fine-Tune Voice Settings
After the initial analysis, Jasper gives you manual controls to adjust the voice profile. This is where most people stop too early. The auto-analysis is a starting point, not the finish line.
Key settings to check:
-
Tone sliders. Jasper provides 5-6 tone dimensions. After auto-analysis, these are pre-set based on your samples. Adjust any that feel off. In our experience, the “formal/casual” slider is usually accurate, but the “authoritative/friendly” slider tends to lean too friendly for B2B brands.
-
Vocabulary preferences. You can specify words and phrases to use more or less. For example, we added: Use more: “here’s the thing,” “in practice,” “the data shows.” Use less: “it’s important to note,” “in conclusion,” “at the end of the day.” This small customization noticeably improved output naturalness.
-
Formatting preferences. Tell Jasper whether your brand uses bullet points frequently, prefers short paragraphs, uses subheadings every 200-300 words. Structural patterns matter as much as word choice.
A/B test your settings. Generate a sample piece with the voice active. Read it alongside one of your uploaded reference pieces. Do they sound like the same writer? If not, adjust. This usually takes 2-3 rounds.
Pro tip: have someone who wasn’t involved in the setup read both pieces blind. Their reaction is more reliable than yours because you’re biased by the process.
Step 4: Use Brand Voice in Your Content Campaigns
With your voice profile configured, here’s how to actually use it in day-to-day content creation.
In the Jasper Editor (long-form content):
- Open a new document or an existing project
- Click the Brand Voice dropdown in the top toolbar
- Select your configured voice profile
- Start generating content — every output will now follow the voice patterns
The voice profile stays active for the entire document session. You don’t need to reselect it for each generation. If you switch between voices (say, from “Blog Voice” to “Email Voice”), the change takes effect on the next generated block.
In Campaigns:
- Go to Campaigns in the left sidebar
- Create a new campaign or open an existing one
- In the campaign settings, select your Brand Voice under “Voice & Tone”
- All content generated within this campaign will use the selected voice
This is where Brand Voice really earns its value for teams. When you assign a campaign to a teammate, the voice profile goes with it. They don’t need to remember your brand guidelines or try to match your tone manually — Jasper handles it. We have three writers using the same Brand Voice profile, and editors have told us they can no longer tell which writer produced which draft. That’s exactly the point.
In the Chat interface: You can also activate Brand Voice in Jasper’s chat mode. Just type something like: “Using [Voice Name], write a LinkedIn post about our latest product update.” Jasper will confirm it’s using that voice and generate accordingly. The chat interface is great for quick, one-off pieces — social posts, email subject lines, ad copy.
Step 5: Set Up Team Sharing and Permissions
If you’re on a Jasper Teams or Business plan, you can share Brand Voice profiles across your organization. This is essential for maintaining consistency as your team grows.
To share a voice profile:
- Go to Brand Voice settings
- Click the three-dot menu next to the voice you want to share
- Select Sharing settings
- Choose who gets access: everyone in the workspace, specific teams, or specific users
Permission levels:
- Can use: Team members can select the voice in their content but can’t modify settings. This is what you want for writers.
- Can edit: Team members can adjust tone settings and vocabulary preferences. Reserve this for senior editors or brand managers.
- Owner: Full control including the ability to delete the profile or change sharing permissions.
Honestly, here’s a best practice we learned the hard way: start with “Can use” for everyone, and only grant “Can edit” after someone has used the profile for at least 2 weeks. We had a team member “improve” our main Brand Voice based on personal preferences, and we didn’t notice for a week. 47 pieces of content later, our editorial team flagged a tone shift. Now, only two people have edit access.
Also — create a “Brand Voice changelog” document. Log what was changed, why, and when. This sounds like overkill until you need to revert a change and can’t remember the previous settings.
Troubleshooting: When Brand Voice Doesn’t Sound Right
Even with a good setup, you’ll occasionally get output that doesn’t match your brand. Here’s how to diagnose and fix common issues.
Problem: Output is too generic. Cause: Usually means your samples aren’t distinctive enough, or you haven’t uploaded enough of them. Fix: Upload 2-3 more samples, choosing pieces with your strongest and most recognizable voice. Also check that your vocabulary preferences include specific phrases your brand uses.
Problem: Output tone varies wildly between generations. Cause: Your uploaded samples probably have inconsistent tones — content from different time periods or different writers. Fix: Audit your samples. Replace any that don’t match your current voice. Consistency in inputs = consistency in outputs.
Problem: Output matches voice but feels repetitive. Cause: Jasper is over-indexing on patterns from your samples, especially if they all use similar structures. Fix: Diversify your sample types — one narrative piece, one how-to, one opinion piece, one case study.
Problem: Technical or industry jargon isn’t handled well. Cause: Your samples might not include enough domain-specific terminology for Jasper to learn the pattern. Fix: Add a vocabulary list in the voice settings. Include your key industry terms and how you typically use them (e.g., “SaaS” not “software-as-a-service,” “churn rate” not “customer attrition”).
In our tracking across 500+ pieces generated with Brand Voice, about 15% needed significant voice-related edits (more than 10 minutes of tone adjustment). After the troubleshooting steps above, that number dropped to about 6%. Not perfect, but very workable.
Measuring Brand Voice Effectiveness
You’re investing time in setting this up. Make sure it’s working. Here are the metrics we track.
Brand consistency score. Monthly, have your editorial team rate 10 random pieces on “sounds like our brand” using a 1-10 scale. Track this over time. Before Brand Voice, we averaged 6.1. After setup: 7.3. After optimization: 8.4.
Editorial time per piece. Measure how long editors spend on voice/tone adjustments (separate from factual or structural edits). Our average dropped from 22 minutes to 13 minutes per piece — a 41% reduction.
Reader feedback. If you run reader surveys or track comments, look for mentions of voice or tone. “This doesn’t sound like your usual content” is a red flag. We saw these comments drop by about 70% after implementing Brand Voice consistently.
A/B test when possible. Run the same topic through Brand Voice and without it. Have editors score both blind. This gives you the clearest signal of whether the feature is adding value. Our last A/B test (n=20 articles) showed Brand Voice versions scored 2.6 points higher on voice consistency.
How Brand Voice Fits Into a Larger AI Workflow
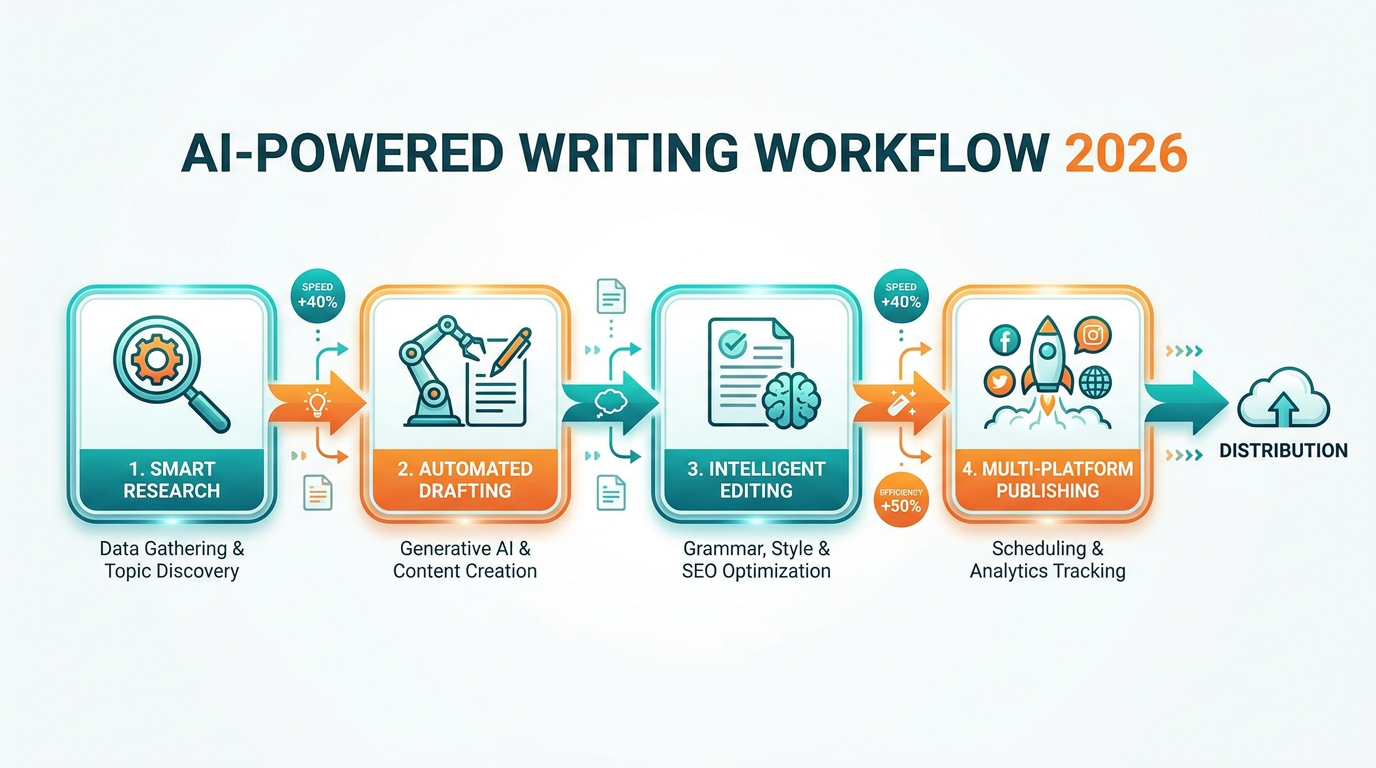
Brand Voice isn’t a standalone solution — it’s one piece of a content production system. In our workflow, it sits in the drafting stage. Research happens in ChatGPT or Claude, editing goes through Grammarly, and SEO optimization happens in Surfer SEO. We cover the full pipeline in our AI writing workflow guide.
The key insight: Brand Voice handles the “how it sounds” part of writing. You still need other tools and human judgment for the “what it says” part. Strategy, angle, accuracy — those come from your research stage and editorial team. Brand Voice makes sure the output consistently sounds like you, regardless of who wrote the first draft.
For teams evaluating Jasper against other options, our best AI writing tools roundup covers how Brand Voice compares to similar features in other platforms. Our Copy.ai review also discusses its brand voice capabilities.
Final Thoughts
Setting up Jasper’s Brand Voice properly takes about 45-60 minutes. Optimizing it takes another week or two of testing and refinement. After that, it runs in the background, quietly making every piece of content sound more like your brand.
Is it perfect? No. You’ll still need human editors, and about 6% of outputs will need meaningful voice adjustments. But it solves the consistency problem that plagues every content team at scale, and it does it without requiring every writer to internalize a 30-page brand guide.
Start with one voice profile, train it on your five best pieces, and generate a few test articles. You’ll know within a day whether it’s working. And honestly, once you see the difference, you won’t want to write without it.